![]() Evalinator is on Zapier so you can easily automate your sales and marketing workflows by connecting your quiz or assessment to systems such as Hubspot, Salesforce, MailerLite, and so on!
Evalinator is on Zapier so you can easily automate your sales and marketing workflows by connecting your quiz or assessment to systems such as Hubspot, Salesforce, MailerLite, and so on!
Zapier is embedded within Evalinator so you don’t even have to step outside Evalinator to set up your connections! The Zapier integration gives you the ability to easily connect your assessments to more than 5000 tools and systems in Zapier’s ecosystem.
Using Evalinator you can create advanced interactive assessments and quizzes. And Zapier dramatically increases your efficiency and revenue enablement.
With Evalinator and Zaper you have access to a dual power to automate your sales and marketing workflows.
Every visitor who visits your website is a potential lead. But most of the time, websites don’t offer enough ways for visitors to download or do something in return for providing their email addresses to you. As a result, these visitors leave your website and you probably will never hear from them again.
The best practice is to create some kind of an asset that visitors would find to be of value.
These assets are called lead magnets.
You can create an expert quiz on Evalinator and post that online on your website. When visitors take the quiz, their contact information can go straight to your marketing automation system for qualification and nurturing
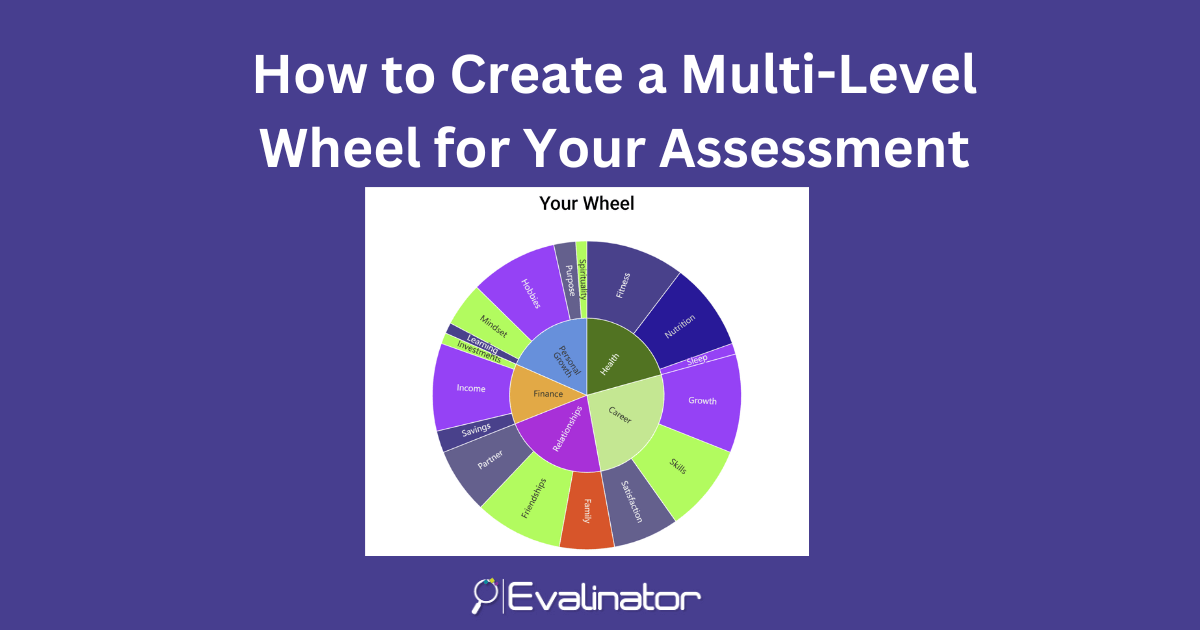
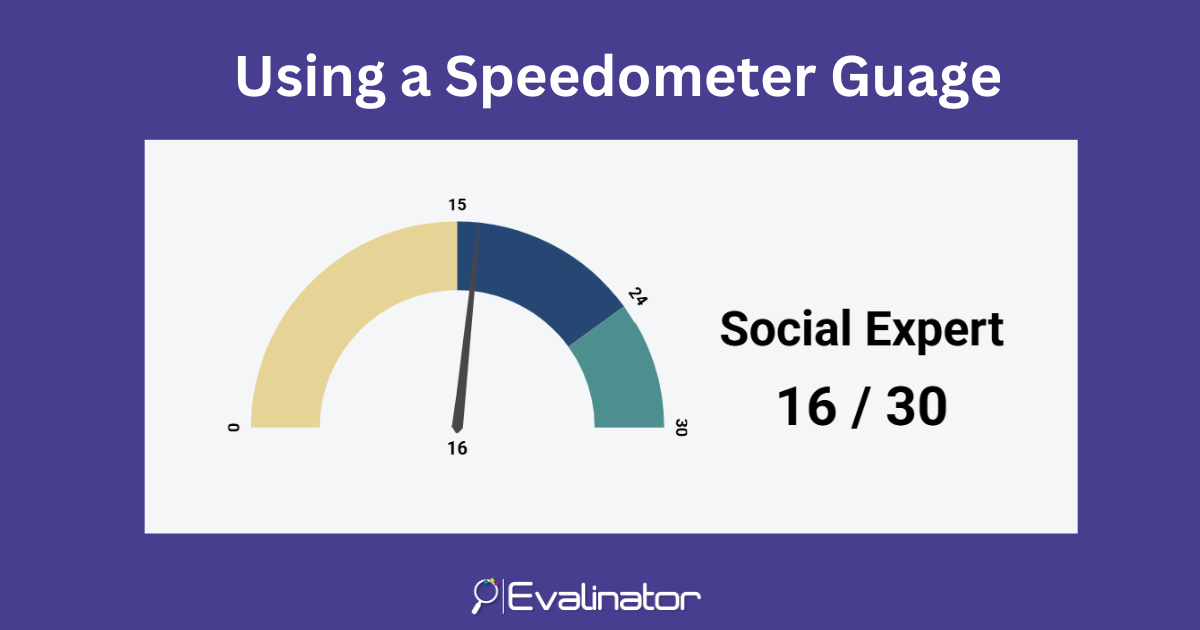
Quizzes on Evalinator are not your typical run of the mill quizzes offered by many platforms. Evalinator is built for experts and B2B lead generation, sales follow ups, and growth. So the quizzes have advanced features such as questions grouped into dimensions, multiple rating bands, profile benchmarking, goal setting features, before-after comparisons etc.
Sales people are often looking for the personalized and value-adding ways to follow up with their prospects without being a bother.
Evalinator has a “Sales Mode” for this purpose.
If you create an expert quiz or assessment with Evalinator, your sales team can use the same assessments and quizzes in 3 ways:
Detailed context of the quiz can be fed right into your CRM (e.g. Hubspot, Pipedrive, MS Dynamics, or Salesforce) using the Zapier integration.
Growing an existing account means uncovering new opportunities and showing clients the progress you have helped them make towards their goals.
How about creating a maturity model on Evalinator if you are looking to grow by upselling and cross-selling your services. Use that to create conversations that are focused on your clients and their goals!
All that information can also flow into your CRM from Evalinator.
Also, when customers take the assessment again as part of a before-after scenario you may want to send an email with some pre-defined next steps based on their total score, or notify the account management team.
Most common Zaps (this is what integrations are called on Zapier) capture email addresses and send assessment data to CRM or marketing automation systems.
Once a response to your assessment is received, Evalinator will send information such as respondent name, email, overall score, questions, selected responses, question scores, dimensions (if you have configured them), dimension scores, and profile responses (if you have configured them). You can select which data you would like to capture in your destination system. At a minimum, you can choose first name, last name, and email address so you can place the respondents on the desired email sequence in your email marketing system.
Here’s the overall sequence of the process to set this up and automate your sales and marketing workflows.
It only takes a few minutes if you have your credentials on hand.
Let’s see how this works.
Log into your Evalinator account, and go to the “Integrations” section of your assessment.
Select Zapier then click, “Set Zapier as Provider”.
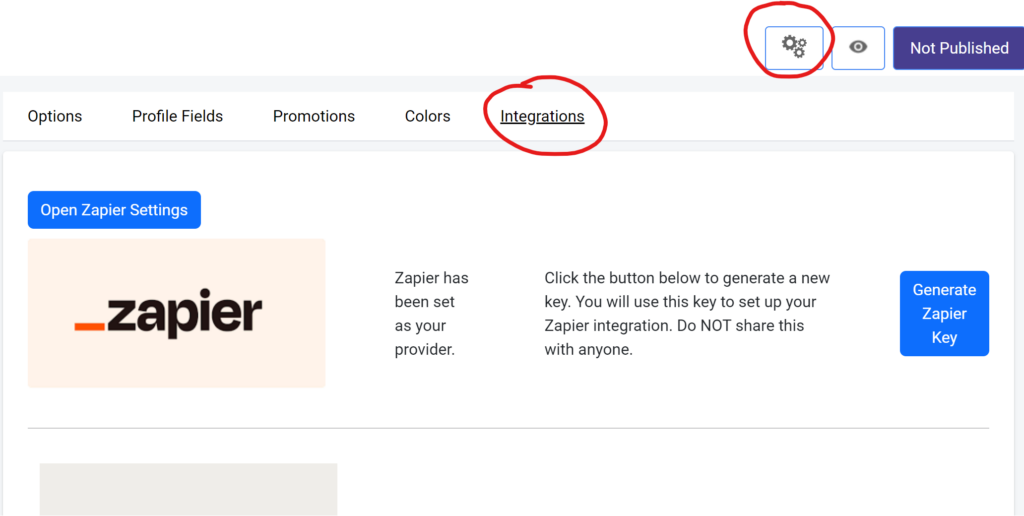
Now you need a key for Zapier so you can authenticate your assessment. Click on “Generate Zapier Key” button. You’ll see a series of digits and letters.
Copy the key into a notepad or another application to keep it handy.
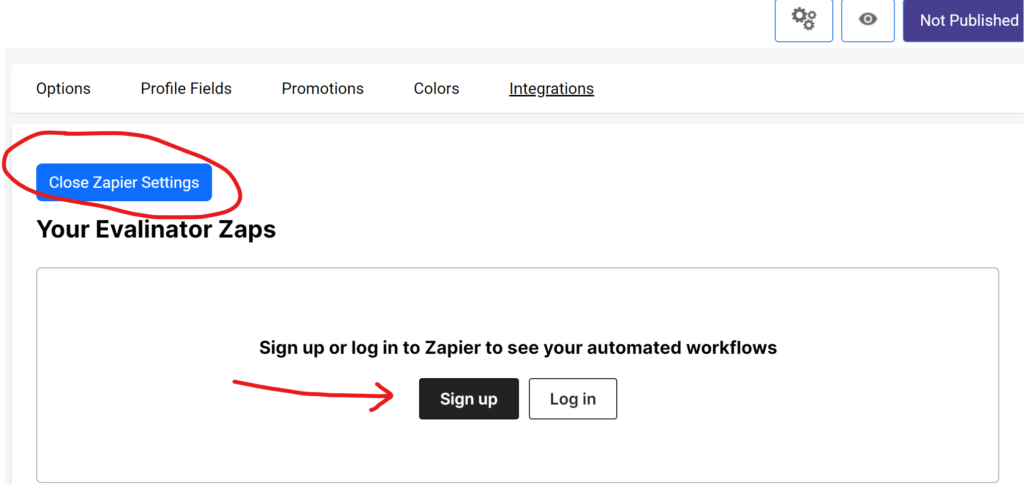
Now click on “Open Zapier Settings“. You’ll see an option to sign in or sign up. Click and complete the sign up process.
After you’re signed in, click on the Create Zap button. That screen will look like the below:
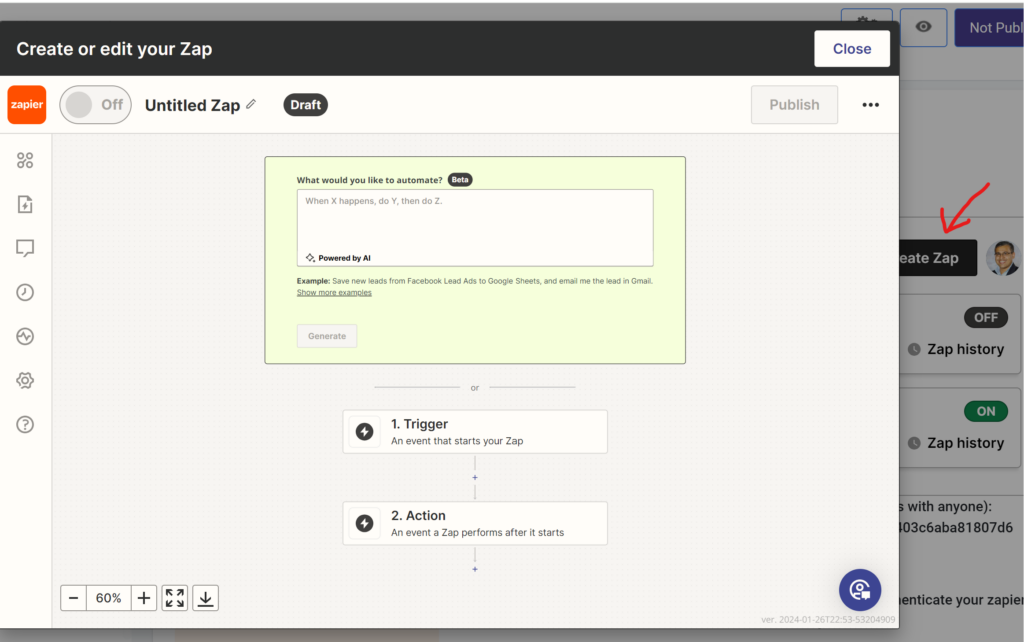
Name the connection (its called a Zap) on the top. Then click on Trigger. On the resulting screen, search for and select Evalinator. See below.
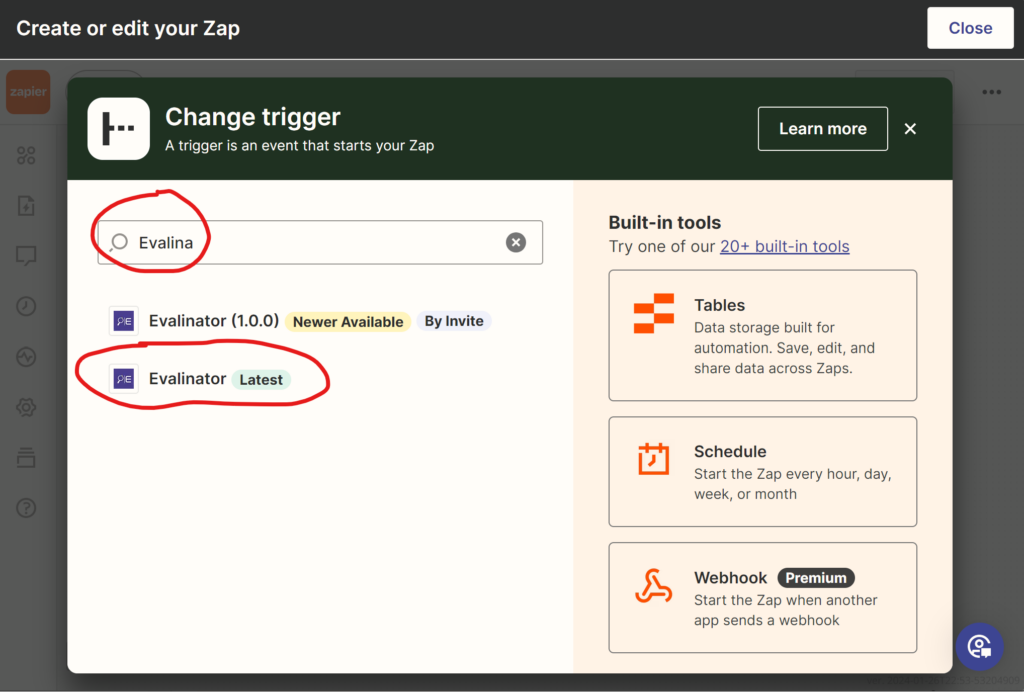
Once you select Evalinator, it will ask you to select a trigger event. You’ll select the only event available which is when a new response is received for your assessment. Then click the Continue button which will appear after you select the trigger event.

Now comes the time when you have to authenticate your connection. It’s simple. Just click on the “Choose” button as shown.
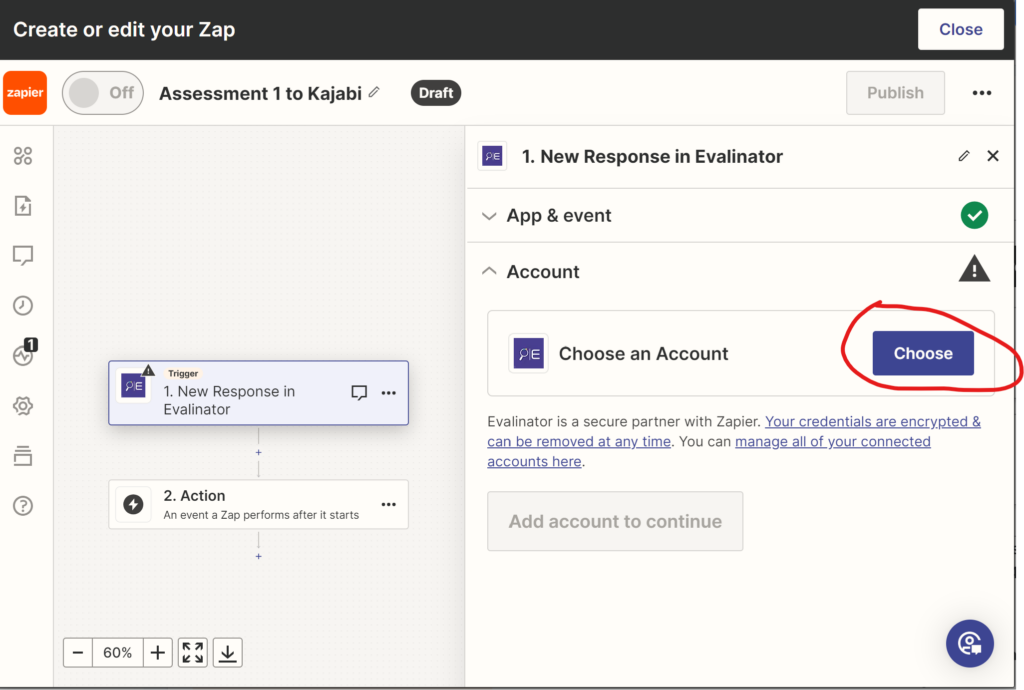
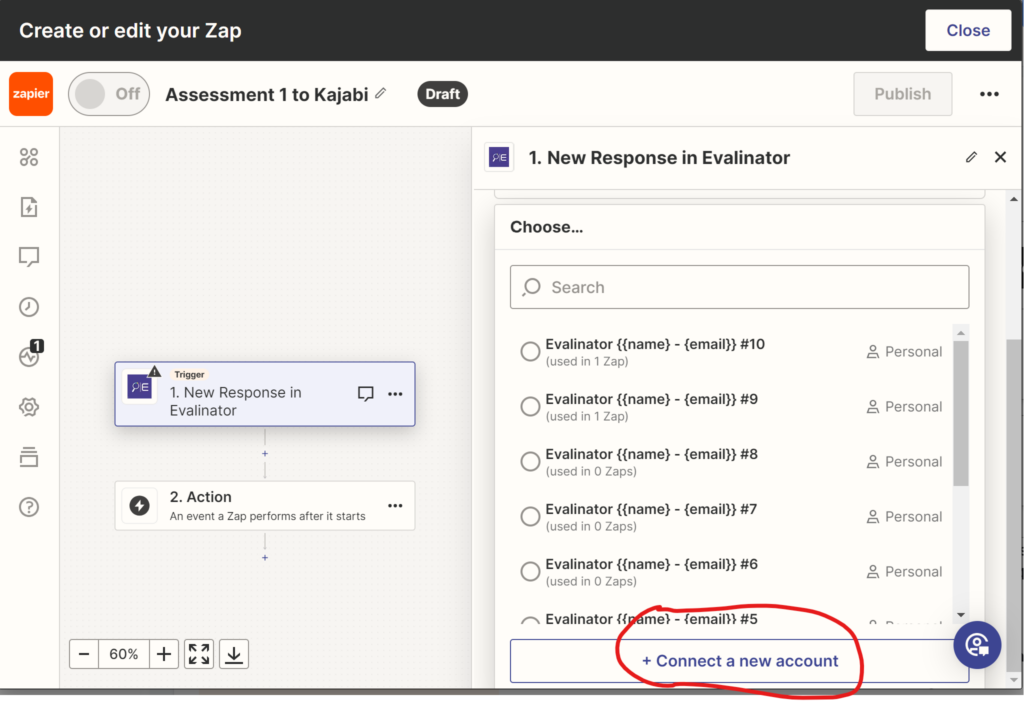
You’ll come to the next screen. Just select “Connect a New Account” as shown.
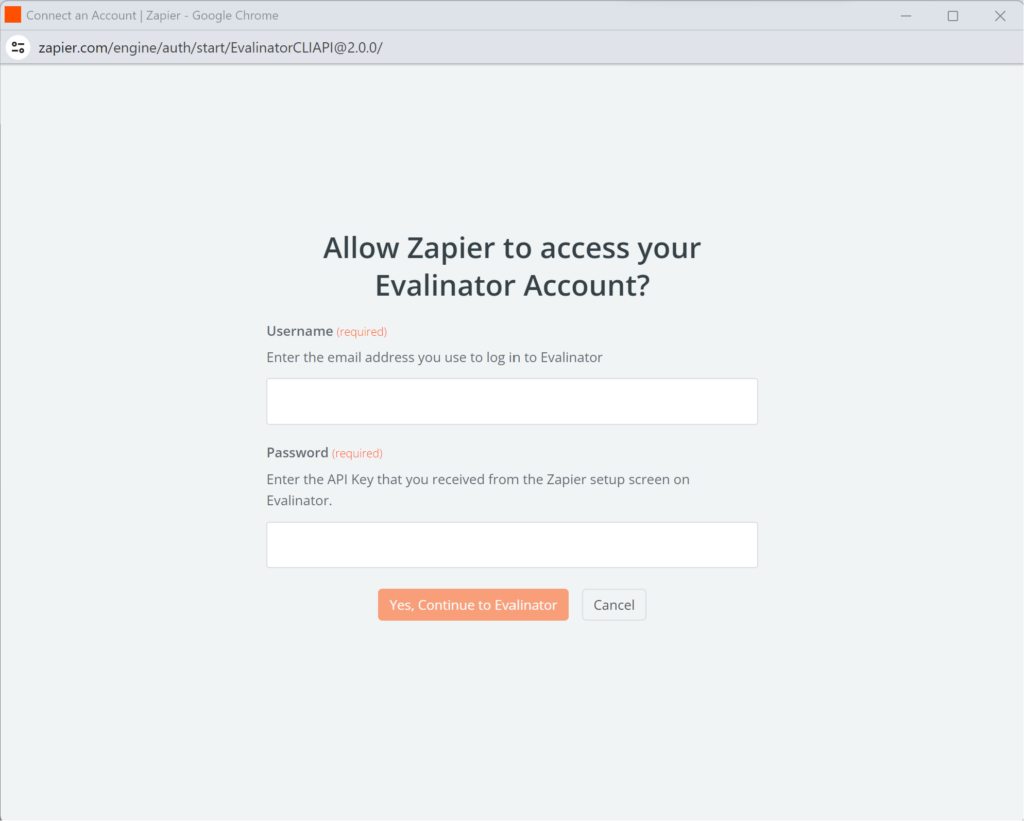
You’ll come to the following screen. Enter the email address that you use for Evalinator, and the API key that you copied on the Zapier screen.
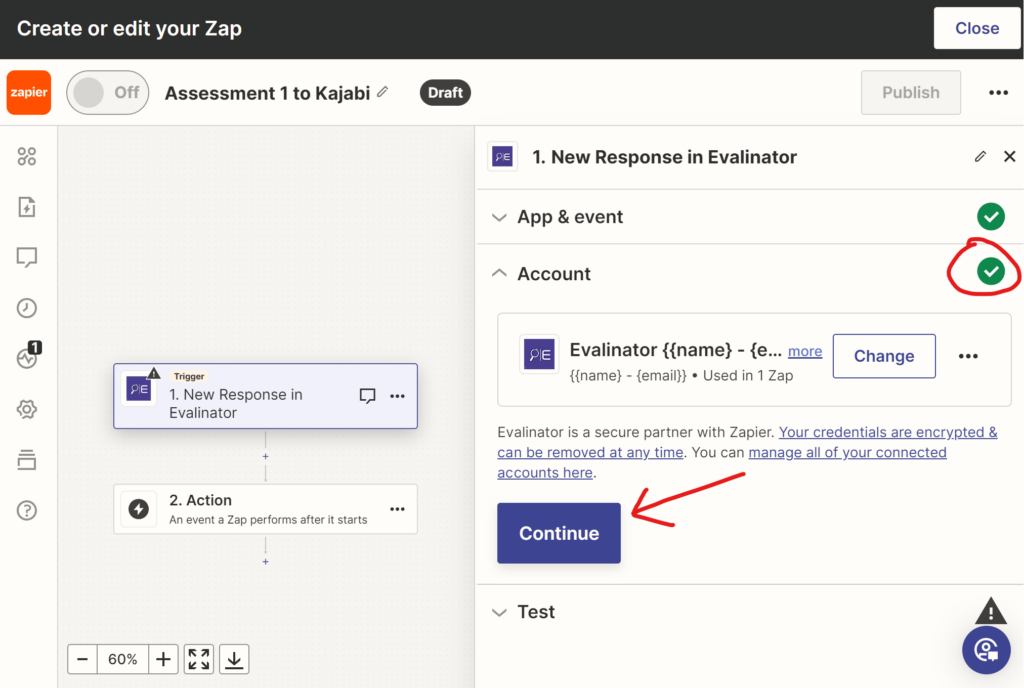
Once you successfully connect, you’ll see the following screen. Click continue.
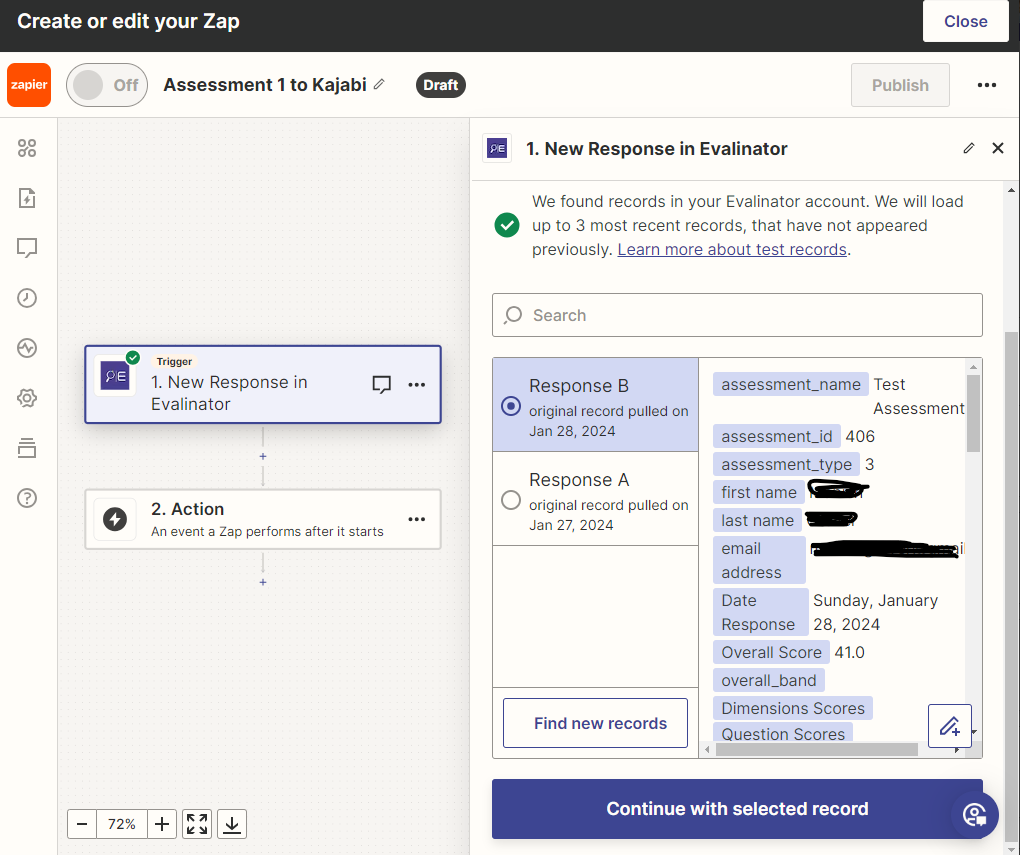
Now, you’ll get a chance to test your trigger. This just means that Zapier will try to get a sample message from Evalinator. You’ll need that to populate the right data in Kajabi. So click on the Test Trigger button.
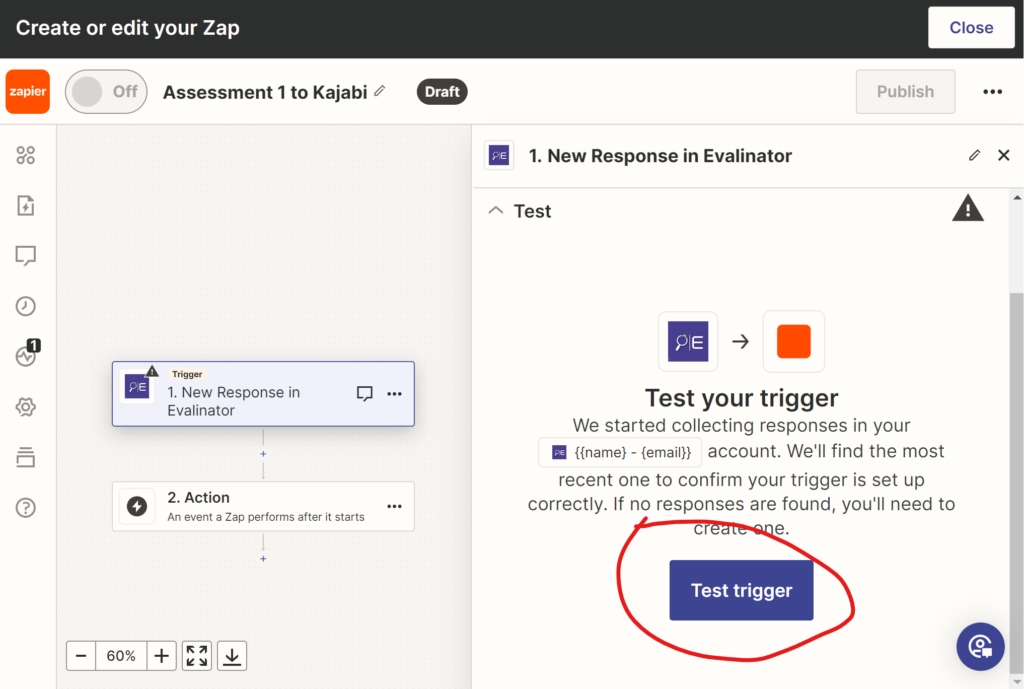
Clicking on “Test Trigger” will pull a sample assessment response from Evalinator. It will have the questions from your assessment, and dummy scores.
This is how it’ll show on Zapier. You can now click on “Continue with selected record” button.
That’s all to connect your Evalinator assessment to Zapier. Now you have to connect Zapier to your target CRM or marketing automation system.
An “action” tells Zapier what do when it receives a “trigger” from Evalinator. A trigger is nothing but a message to Zapier from Evalinator that a “New Response” has been received for your assessment on Evalinator.
While we’ve set up several pre-defined Zap templates for you, we describe below the generic way to create Zaps so you get the full picture. If you decide to use our templates, then some of the steps below will be short circuited.
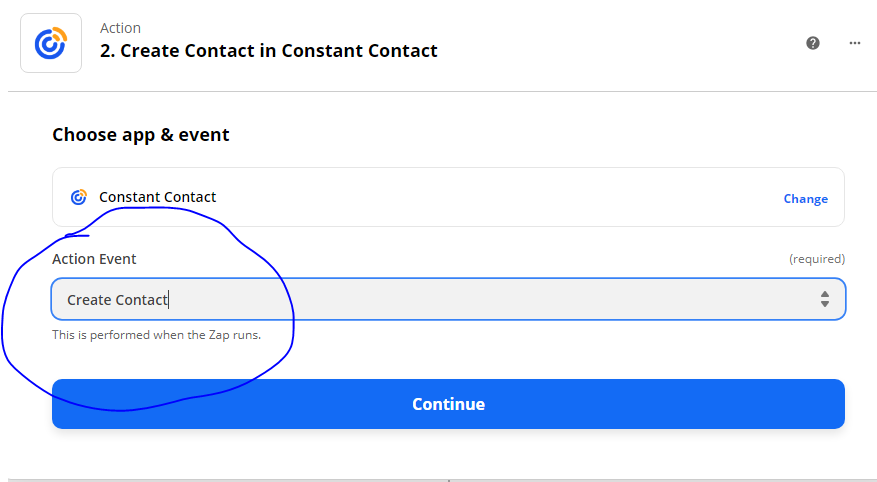
So, as an example, let’s send the response we received to Constant Contact. At this point, also name your Zap to reflect this integration. For example “Evalinator-ConstantContact”.
Click on the “+” icon on the Zap setup screen and search for Constant Contact in the list of apps.
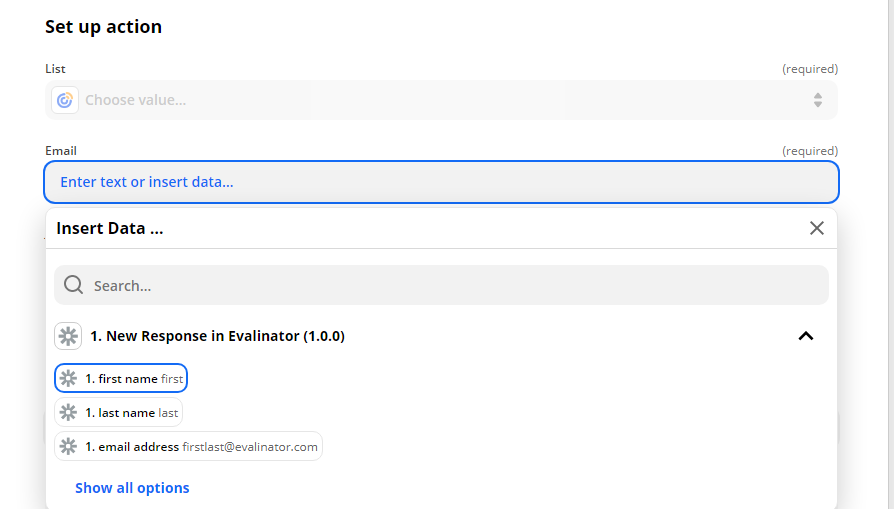
Zapier will now prompt you to log in to your account at Constant Contact. Once you’ve done that, you’ll come back to Zapier and map the data from Evalinator to the fields in Constant Contact. And you’ll also select the contact list you want to use in Constant Contact. We recommend you set up a new list in Constant Contact, such as “Assessment Responses”.
Once you’ve done this, you’re done!
PS: Make sure you use a “list” or “source” field in your target system. Some times, if you don’t specify anything, it means you are opting the prospect out. It doesn’t happen often but just be careful and test out your integration once after you publish the Zap before using it with real customers.
Click “Continue”. You will receive a prompt to test the trigger and integration. Remember this is only test data so what you see does not reflect your actual assessment and questions.
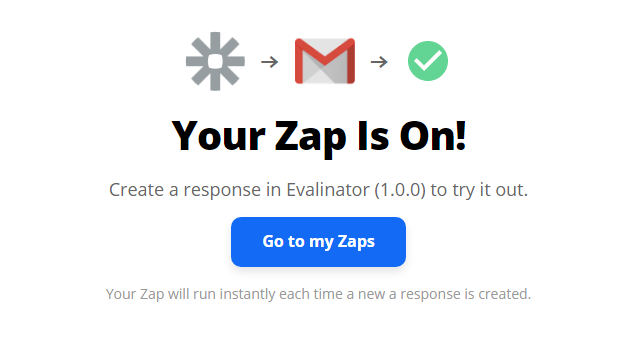
Zapier will then prompt you to turn your Zap on. You’ll see something like the screen below. You see the gmail icon below because we tested our Zap by sending the test data to gmail.
Now, Evalinator will send responses and appropriate data over to Zapier, and then Zapier will send them to the system you have set up as the destination.
At this point, open the live link to your assessment, and take your assessment as a new user. You should see that record in the target system of your choice within a couple of minutes. The Zap integration with Evalinator is instantaneous.
So give it a shot. Sign up for the free trial and start automating your sales and marketing workflows
Happy Zapping!
Feeling frustrated with lead generation?
Take this free, 5-minute quiz and get more prospects into your leads funnel.
Instant Results. Actionable recommendations. Email required.
Find Your Score >>